5-Minute No-Makeup Makeup Tutorial
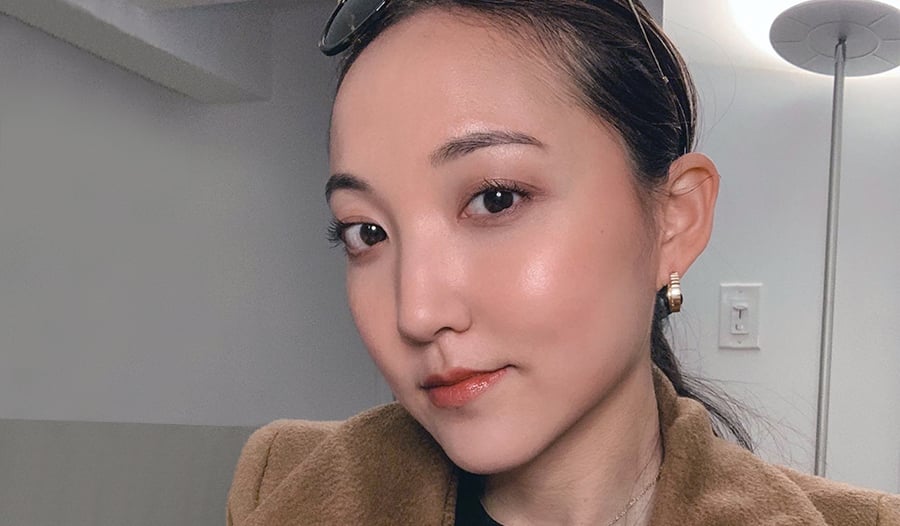
The days of full glam makeup are slowly dying. The so-called “no-makeup makeup” look is taking over and it’s here to stay. But the term itself has so many ironies behind it. First of all, you’re wearing makeup to make it look like you’re not wearing makeup. Second, it seems easy but I actually think it actually requires more technique than a full glam look. It’s mastering the art of subtlety using more products than you think—but not more time.
Below I lay out my step-by-step routine to achieve that perfect no-makeup makeup look in just five minutes.
Prep Your Skin
The bread and butter to perfecting this look is your skin. It all starts with a good skin prep.
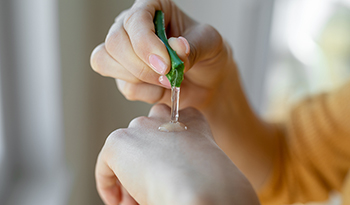
The first thing I do is to go in with One Step Moisture Up Pads from Cosrx to provide the perfect hydrated canvas before I start my makeup routine. It gently removes the dirt on your face while providing a lightweight hydrating layer.
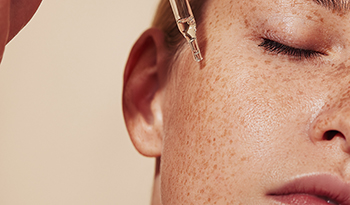
After that, I go in with a lightweight yet super hydrating moisturizer—Innisfree Green Tea Balancing Cream EX—mixed with 1-2 drops of Pixi Beauty Rose Oil Blend to provide a glowy base. I especially like the green tea cream because it also helps to soothe your skin and calm down any redness you may have.
Apply Primer
Once skin is fully prepped, I go in with two different primers to not only smoothen out my base but also add a radiant, glowy layer under the makeup. I use the first primer to blur the pores on my T-zone. I love the Touch in Sol No Poreblem Primer for that purpose. For the rest of my face and especially my cheekbones, I go in with an illuminating primer to give a subtle luminous finish. My favorite one is the L’Oreal Magic Lumi Light Infusing Primer— it’s so affordable and gives a healthy glow to your skin.
Apply Tinted Moisturizer
Now that you have a glowy and hydrated base, it’s time for some lightweight coverage. I go for something with pretty sheer coverage that lets my skin breathe. Just say “no” to heavy foundations! I go in with a BB or CC cream with high SPF coverage. I use either a BB cream (K-beauty ones are my favorite in terms of formulation and finish) or a cushion compact like Heimish Artless Perfect Cushion.
Apply Highlighter
This is my favorite step—going in with a highlighter to give some extra pop to your cheekbones and other areas. You have to make sure to choose a highlighter that is super subtle and will show only when the sunlight hits the right spot. My all-time favorite is the Too Cool for School Artclass by Rodin Highlighter. You can mix and match the colors or use single colors for your nose, cheek bones, brow bones, and even as an eyeshadow. Give light to your best features!
Finish with Mascara
The last finishing touch is your mascara. It makes such a difference and just instantly makes you feel and look more alive. I will never stop using L’Oreal Voluminous Curved Mascara. It’s so affordable yet effective.
Here’s what it looks like when you’re all done:
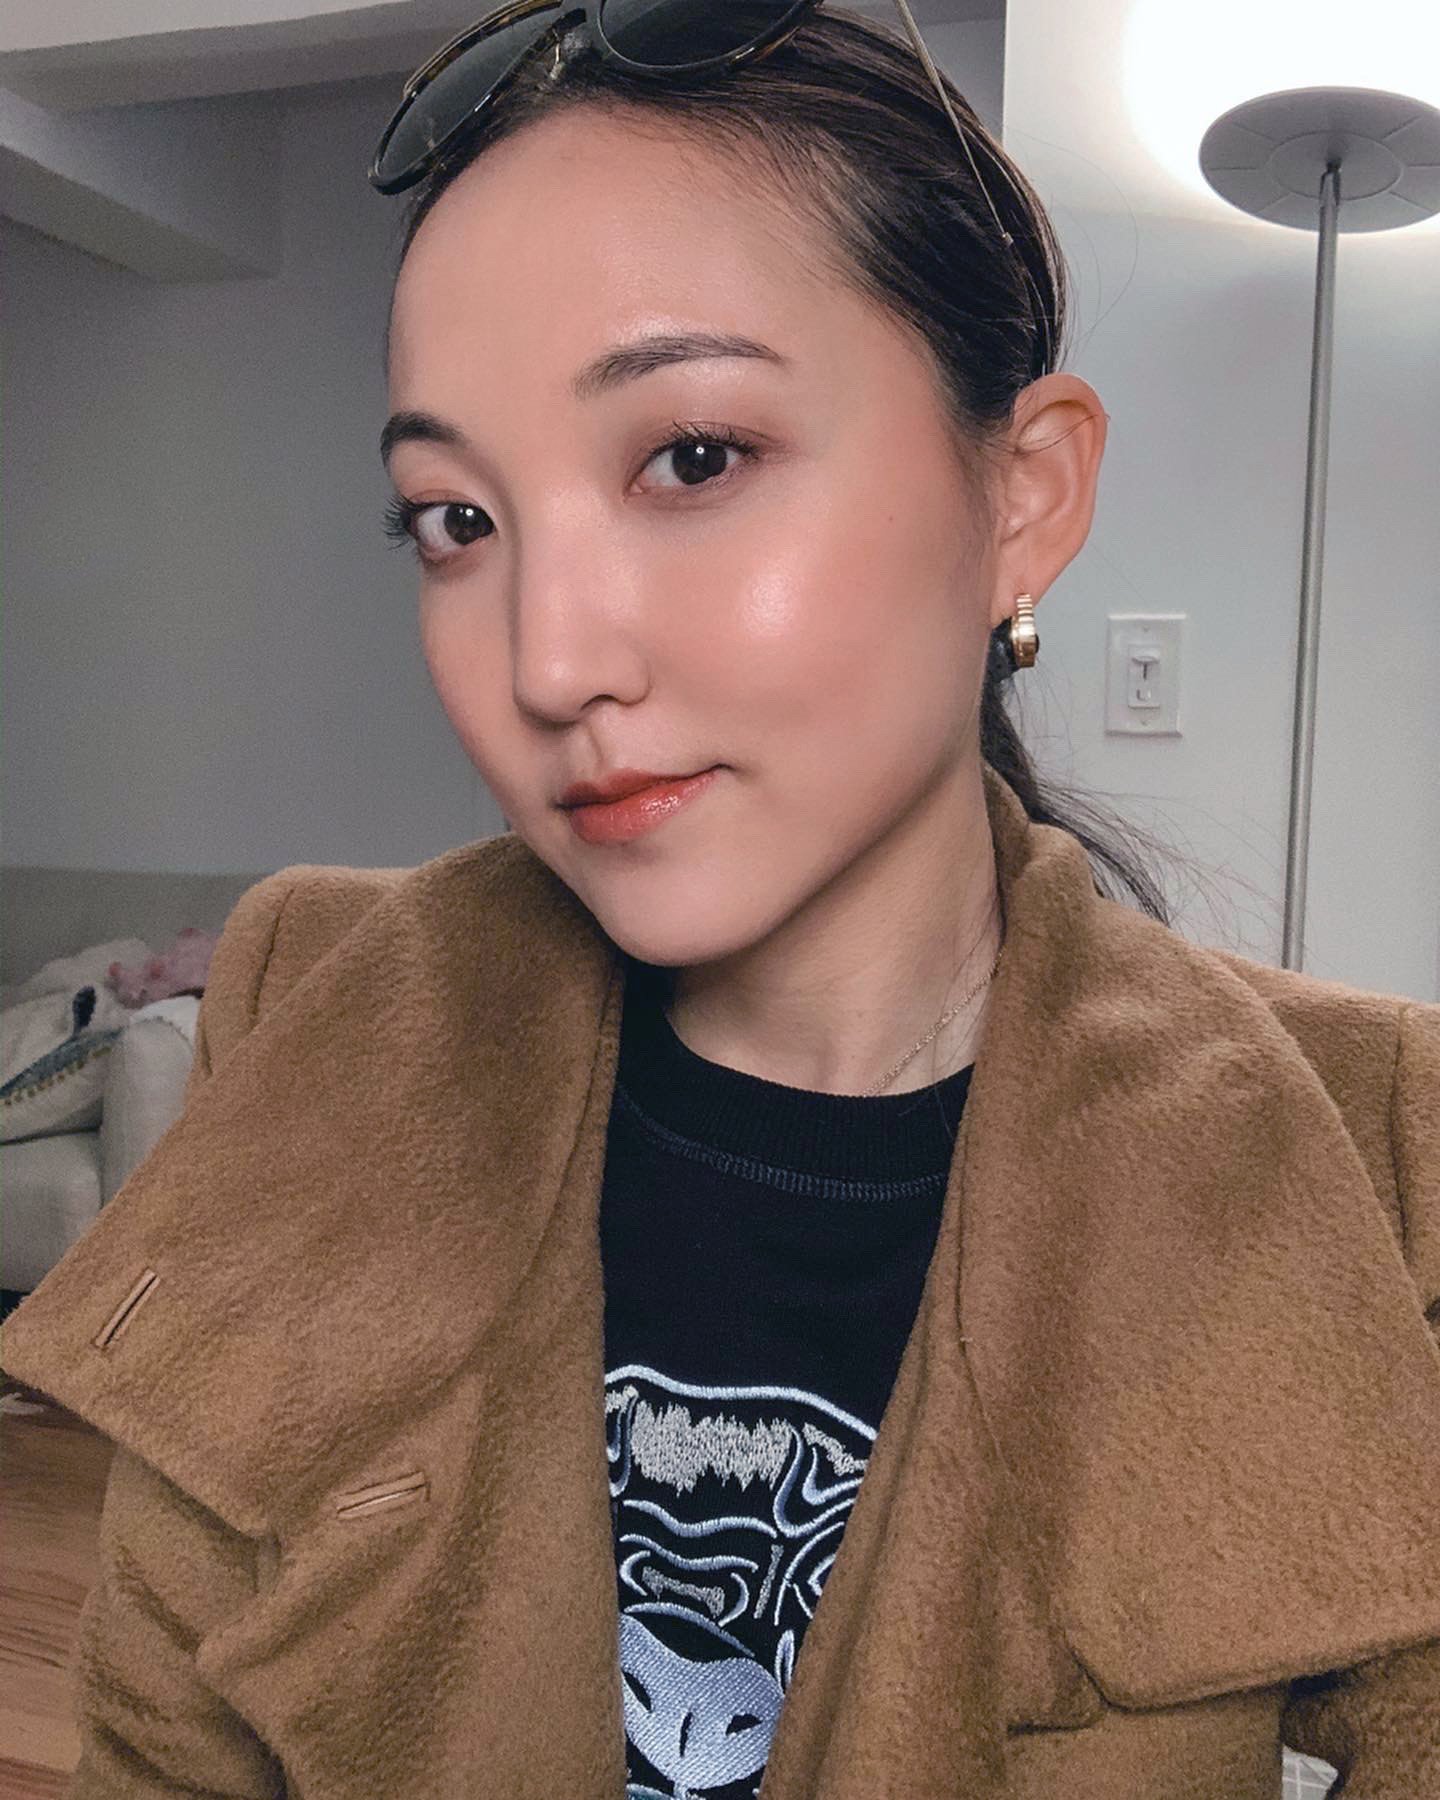
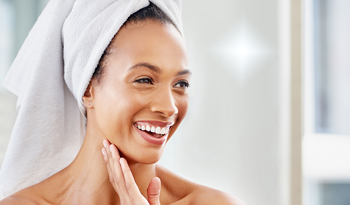
This is as natural and effortless as your makeup will get. It will truly look like you have no makeup on at all while you give off that natural glow!
DISCLAIMER:This Wellbeing Hub does not intend to provide diagnosis...





































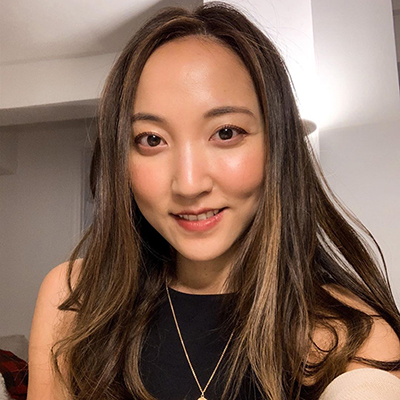
 Table of Contents


